When remodeling your bathroom, there’s more to consider than just aesthetics. For many homeowners in Western Massachusetts, functionality and accessibility are just as crucial. Whether you’re planning to age in place or accommodating someone with limited mobility, creating an ADA-compliant bathroom can make life easier and safer for everyone in your home.
This step-by-step guide will walk you through the essentials of an ADA bathroom conversion while keeping the process manageable and beginner-friendly. If you’re looking for a trusted bathroom remodeler in Springfield, MA, or surrounding areas, keep reading to see how we at Inaugural Home Improvement can help!
The Importance of an ADA-Compliant Bathroom
An ADA-compliant bathroom ensures that the space is easily accessible and safe for individuals with disabilities, seniors, or anyone who may face mobility challenges. It prioritizes barrier-free design and thoughtful features so everyone can use the facilities comfortably without assistance.
Beyond convenience and safety, upgrading to an ADA bathroom in Western MA can add value to your home. Whether you’re remodeling for personal reasons or considering resale value, creating an accessible space signals inclusivity and foresight.
Key Elements of an ADA-Compliant Bathroom
Here are the foundational features of an ADA-compliant bathroom. We’ll break down each one and provide design considerations to help guide your remodel.
1. Wide Doorways and Entry Clearance
- Why It’s Important: Wheelchairs need sufficient space to enter and turn around.
- ADA Standard: Doors should be at least 32 inches wide, with a clear floor space of 36 inches inside the bathroom for maneuverability.
- Design Tip: Pocket doors or barn doors are great options for saving space while meeting ADA requirements.
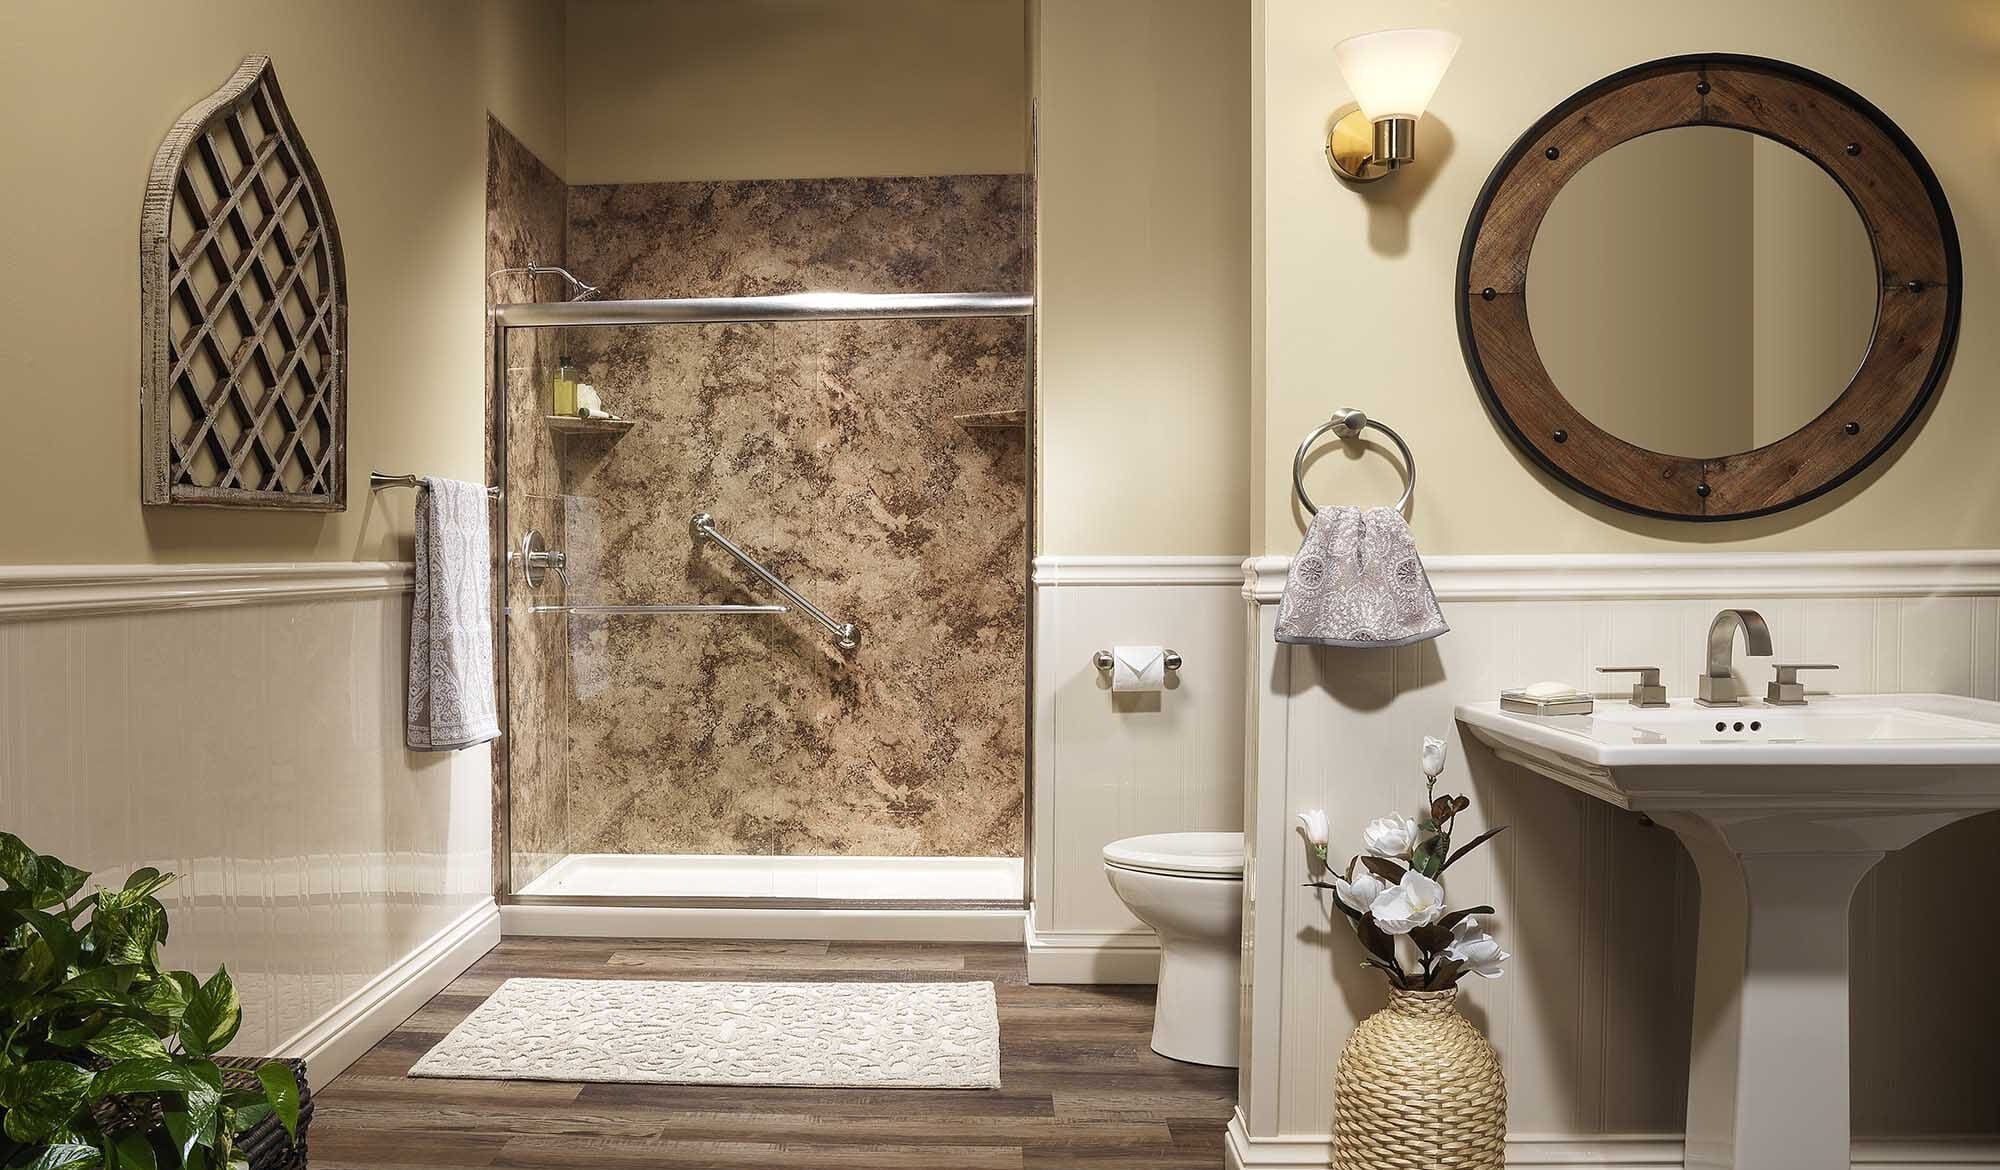
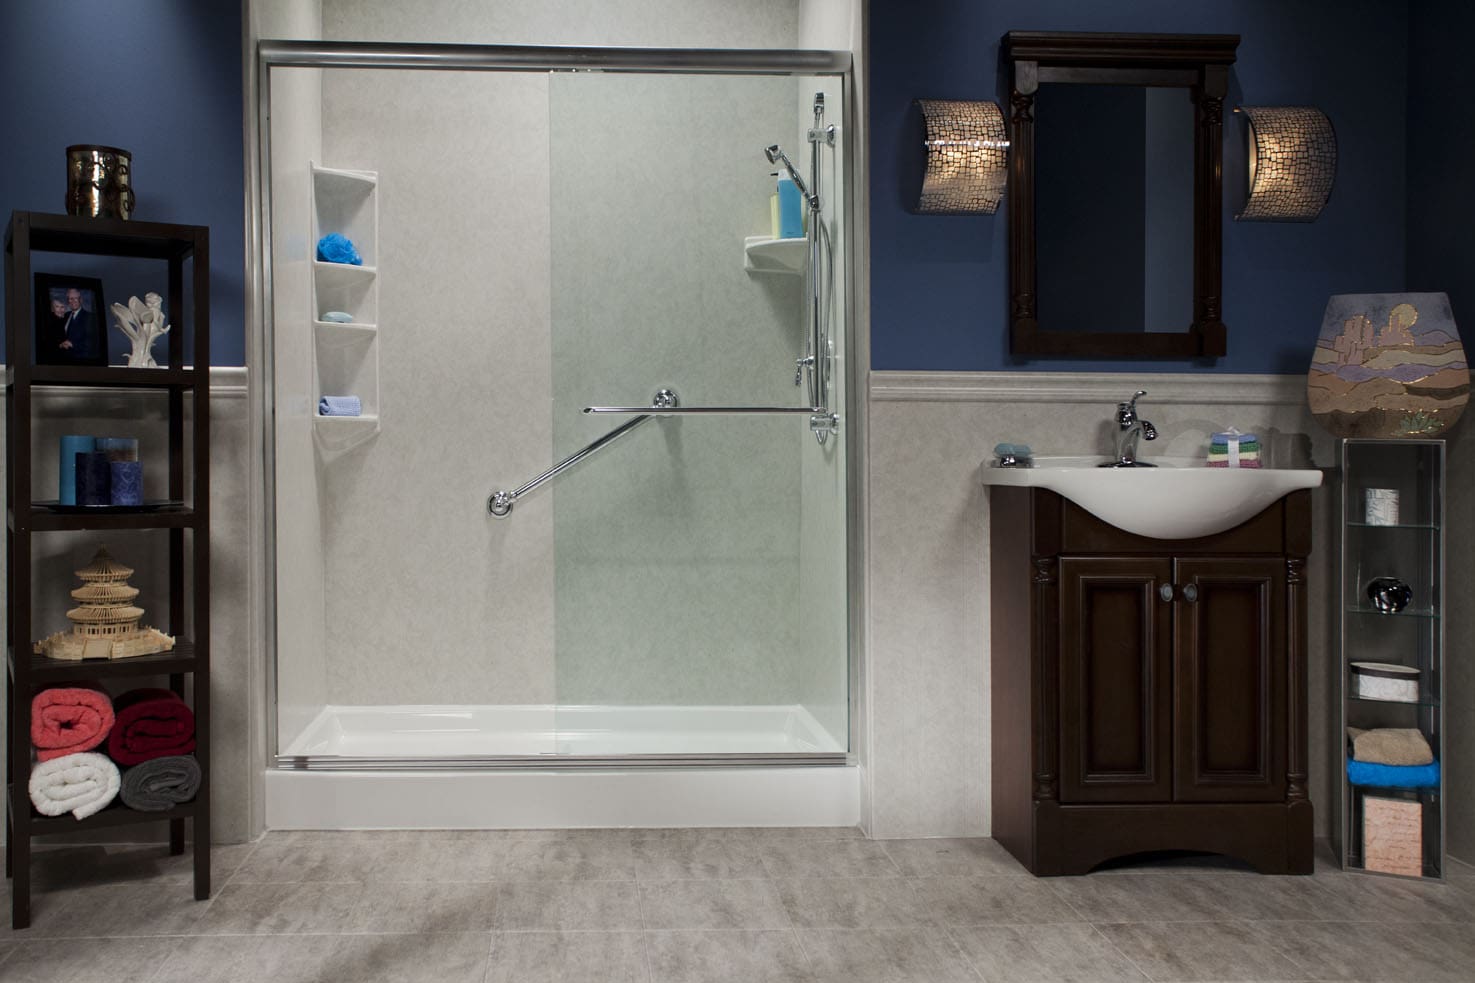
2. Barrier-Free Showers
- Why It’s Important: Curbless or roll-in showers allow for safe and easy access without stepping over a raised edge.
- ADA Standard: Showers should be at least 36 x 36 inches in size with a fold-down bench, grab bars, and handheld showerheads.
- Design Tip: Pair slip-resistant flooring with a linear drain for a seamless look that’s both stylish and functional.
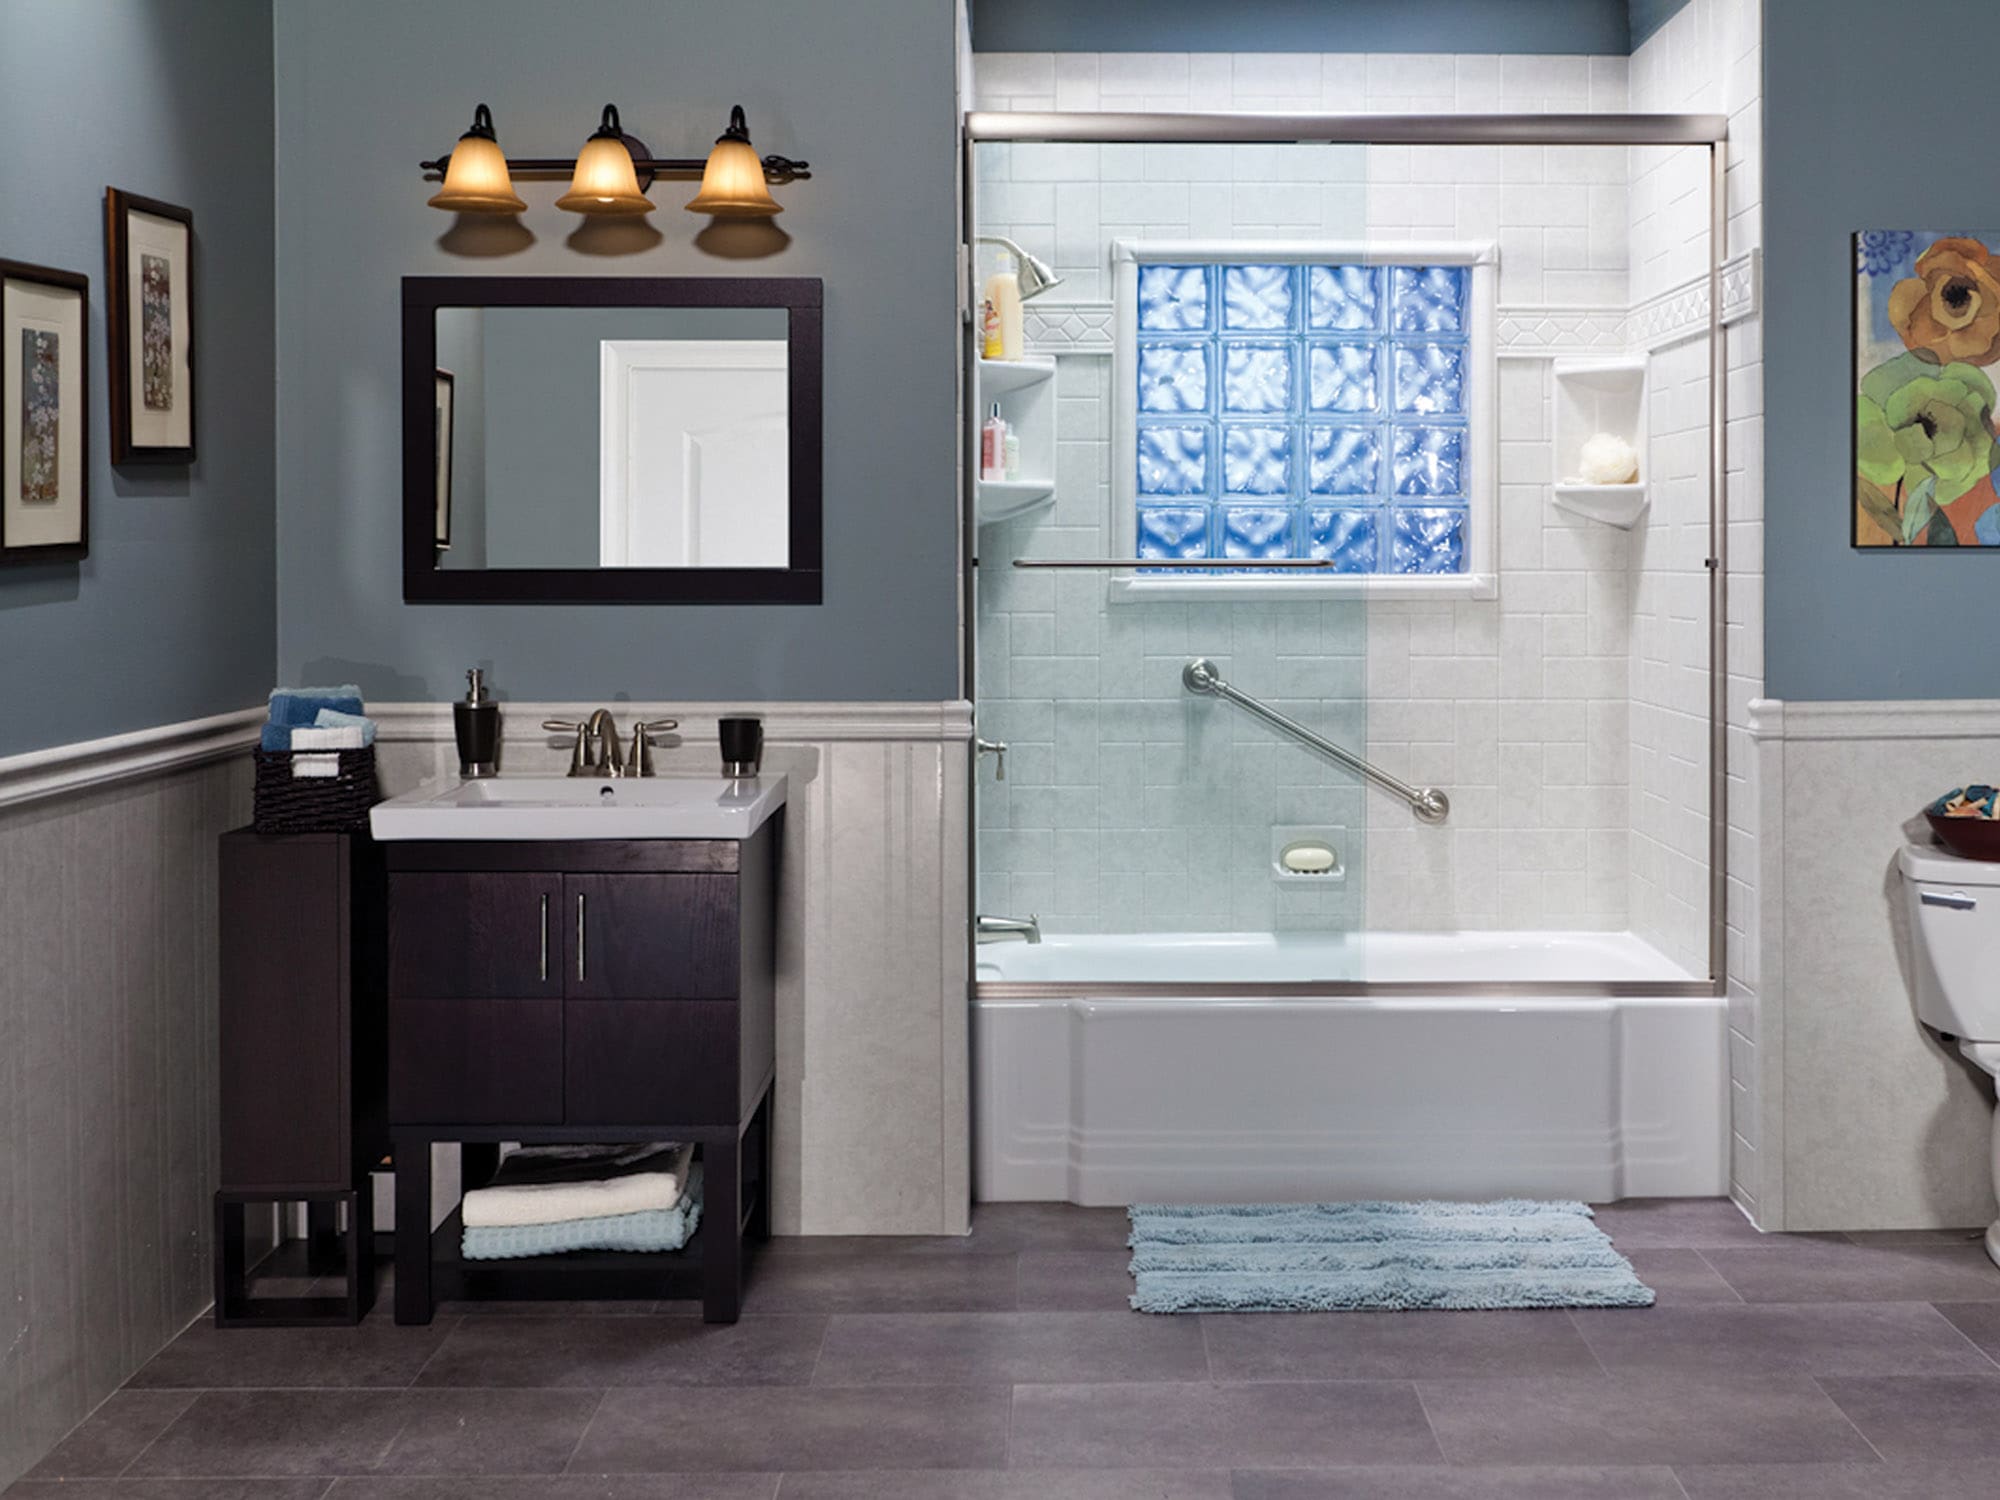
3. Grab Bars and Reinforcements
- Why It’s Important: Grab bars provide critical support for stability and balance, reducing the risk of slips and falls.
- ADA Standard: Grab bars should be installed near the toilet, shower, and bathtub at a height of 33 to 36 inches from the finished floor.
- Design Tip: Use sleek, stainless-steel grab bars that complement your bathroom’s style rather than making it look clinical.
4. Accessible Sink and Vanity
- Why It’s Important: Sinks should be easy to reach for someone seated or standing.
- ADA Standard:
- The sink should have a height of 34 inches or less.
- Ensure there is 27 inches of clearance underneath for wheelchair access.
- Design Tip: Wall-mounted sinks not only meet ADA standards but also create a modern, open feel, leaving more space for maneuverability.
5. Comfort-Height Toilets
- Why It’s Important: Standard toilets can be too low for individuals with limited mobility.
- ADA Standard: Toilets should sit at a height of 17 to 19 inches from the floor to the top of the seat.
- Design Tip: Opt for a dual-flush model to save water without sacrificing easy usability.
6. Lighting and Accessibility
- Why It’s Important: Proper lighting enhances safety and makes it easier to see key features like grab bars and switches.
- ADA Standard:
- Light switches should be no higher than 48 inches above the floor.
- Motion-sensor lights are highly recommended for ease of use.
- Design Tip: Use LED lighting and take advantage of dimmer switches for energy efficiency and customizable brightness.
Step-by-Step Guide to Your ADA Bathroom Conversion
Step 1: Assess Your Needs
Who will be using the bathroom? Identify specific accessibility concerns and plan accordingly.
Step 2: Plan Your Layout
Evaluate the space you have and decide where to implement ADA features like grab bars, clearance spaces, and wider doorways.
Step 3: Choose the Right Materials and Fixtures
Prioritize durable, slip-resistant, and water-resistant materials like ceramic tiles and quartz countertops to balance safety and design.
Step 4: Hire an Expert
While DIY renovations may be appealing, working with an experienced bathroom remodeler in Springfield, MA like Inaugural Home Improvement ensures every detail of your ADA-compliant bathroom is executed properly and meets ADA standards.
Step 5: Final Touches
Install fixtures, accessories, and thoughtful elements such as anti-slip mats, decorative grab bars, and a color-coordinated aesthetic that blends functionality with style.
Why Choose Us?
At Inaugural Home Improvement, we specialize in ADA bathroom conversions in MA. From design to installation, our team ensures every update enhances safety and accessibility without compromising on beauty. We understand the local building codes and ADA standards, so you can rest assured that your remodel will be compliant and up to code.
Start Your Remodel Today!
A safe, stylish, ADA-compliant bathroom is within reach, and we’re here to bring it to life. Contact Inaugural Home Improvement, the trusted bathroom remodeler in Springfield, MA, to start crafting the perfect space for your home’s unique needs.
Don’t wait to upgrade your bathroom for better functionality and peace of mind. Reach out today for a consultation, and take the first step toward a home that works for everyone!